by Charles Oropallo | Oct 18, 2024 | Do-It-Yourself
 If you secure many sites with free Let’s Encrypt SSL, you may hit a wall. Suddenly, certificate requests stop cold. One day everything works. The next, you see rate-limit errors and wonder what happened.
Here’s the thing. Let’s Encrypt secures over 350 million websites with free SSL. To keep things stable and safe, they enforce strict rate limits. These limits can surprise even seasoned developers. They bite hardest when securing many domains or subdomains at once.
Understanding these limits prevents headaches. It also keeps your sites secure and your business running. I’ll explain what the limits mean. I’ll share five practical steps to avoid SSL issues before they happen.
What Are Let’s Encrypt Rate Limits?
Think of Let’s Encrypt rate limits like a busy restaurant. It can serve only so many guests each hour. They are not there to hassle you. They ensure fair access and protect the system.
The key limit is 50 certificates per registered domain every 7 days. “Registered domain” means your eTLD+1, or main domain. If you own example.com, all subdomains share that weekly pool. That includes www, blog, and shop subdomains.
That’s not the only limit. You get 5 failed validation attempts per domain per hour. Repeated failures trigger a temporary lockout. Common causes include DNS or firewall issues. There’s also a duplicate certificate limit of 5 per week. Renewals do not count against the 50-certificate quota.
Account creation is limited too: 10 accounts per IP every 3 hours. This prevents abuse through mass accounts. It can also affect legitimate teams that need several accounts.
Step 1: Use Wildcard Certificates for Multiple Subdomains
Here’s your first defense against rate limits. Use a single wildcard certificate, not many subdomain certificates. One wildcard covers all subdomains under your domain.
A wildcard for *.example.com secures www, blog, shop, and new subdomains. You issue only one certificate. This slashes issuance volume and stays within Let’s Encrypt limits.
Even better, a single certificate can list up to 100 domains. Managing many brands? Combine domains into fewer certificates. One cert can cover yourcompany.com, .net, and .org.
Look at your setup. Are you requesting one certificate per subdomain? If so, you burn limits quickly. Switching to wildcard certificates is often the top fix.
Step 2: Test in the Staging Environment First
Before deploying live, test in Let’s Encrypt’s staging environment. It’s a safe practice kitchen. Mistakes don’t affect customers.
Staging has relaxed limits: 50 new registrations per IP per 3 hours. Production allows only 10. Use staging to test SSL, fix DNS, and refine deployment.
Many teams skip this step in a rush to go live. That’s when rate-limit problems strike. You issue, it fails, you retry, and hit five failures. Now you must wait.
Follow this rule. Do not issue a production certificate until staging succeeds. Spend 15 extra minutes. It could save days later.
Step 3: Implement Protective Safeguards
Smart hosting platforms add safeguards to prevent runaway certificate requests. You should do the same.
Many platforms lock SSL provisioning after three failures. They stop before Let’s Encrypt’s limit of five. That buffer prevents retry loops and protects weekly limits.
If you manage SSL yourself, add similar safeguards. Monitor requests per domain and per week. Create alerts near the limits. Add automatic delays between retries.
Do not rely on manual steps. SSL issues feel urgent, and pressure creates mistakes. Automation removes human error in Let’s Encrypt rate-limit management.
Step 4: Monitor and Space Out Certificate Requests
If you manage many sites or a SaaS, timing matters. Be strategic with certificate requests. Avoid securing everything at once.
Let’s Encrypt allows 10 certificates per IP every three hours. Migrating dozens at once? Pace your requests. Spread them over days, not one afternoon.
Keep detailed logs of issuance times and domains. This is essential for weekly limits. Know exact counts for each domain over seven days before requesting more.
Use a spreadsheet or database to track issuance dates, renewals, and limit usage. Seeing requests visually helps avoid accidental Let’s Encrypt limit hits.
Step 5: Fix Root Causes Before Retrying Failed Requests
This might be the most important step. When provisioning fails, do not retry immediately. The seven-day window also tracks failed attempts per domain.
Instead, find and fix the root cause. Common causes include DNS mistakes, blocked HTTP validation, or domain verification issues. Retrying without fixes only wastes your limits.
Some common issues to check when certificates fail:
- DNS records pointing to the correct IP address
- Firewall rules allowing HTTP validation on port 80
- Web server configuration properly handling validation requests
- Domain ownership verification working correctly
Follow this rule of thumb. Wait at least an hour between failures. Do not retry until you fix the specific problem. Many providers recommend this. It prevents accidental lockouts.
What Happens When You Hit Rate Limits
Despite your best efforts, you may still hit limits. When it happens, wait for the window to reset. The main certificate limit resets after seven days.
While you wait, consider alternatives. Issue wildcard certificates where missing. Consolidate domains into fewer certificates. For critical needs, consider a commercial CA as a temporary last resort.
Most important, learn from the incident. Review what happened. Update processes to prevent repeats. Confirm your safeguards work properly.
Remember, Let’s Encrypt rate limits keep the service stable for everyone. Follow the five steps. Use wildcards. Test in staging. Add safeguards. Monitor usage. Fix root causes early.
The key is proactive planning, not reactive troubleshooting. With preparation, you can keep sites secure without hitting these limits.


by Charles Oropallo | Sep 27, 2024 | Do-It-Yourself

You updated PHP on your hosting account and suddenly your WordPress site displays a white screen or error messages. Sound familiar? You're not alone. PHP updates break WordPress sites more often than you'd think, but the good news is that most issues have straightforward fixes.
The problem usually stems from outdated plugins, themes, or even WordPress core files that aren't compatible with newer PHP versions. Think of it like trying to run old software on a brand-new computer – sometimes it just doesn't work without updates.
Don't panic. Here's your step-by-step recovery plan to get your site back online and properly updated.
Step 1: Revert PHP Version Immediately
Your first priority is getting your site back online. Log into your hosting control panel (like cPanel) and find the PHP settings. This might be called "MultiPHP Manager," "PHP Version," or "Select PHP Version."
Switch back to your previous PHP version – usually PHP 7.4 or 8.0. Your site should come back online within minutes. This buys you time to properly diagnose and fix the underlying compatibility issues.
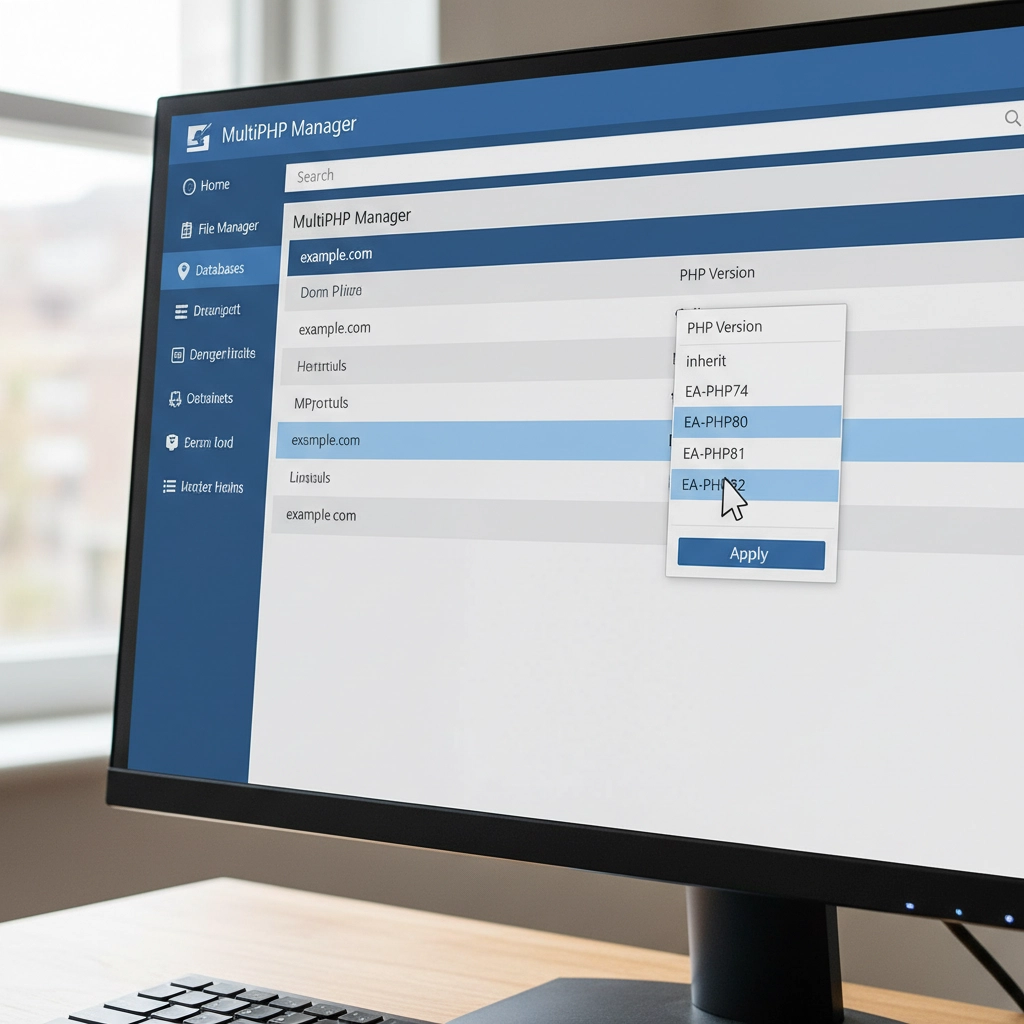
Remember, this is a temporary fix. Running outdated PHP versions leaves your site vulnerable to security threats. PHP 7.4 stopped receiving security updates in November 2022, and even PHP 8.0 support ended in November 2023.
Step 2: Create a Full Site Backup
Before making any changes, backup everything. Use a plugin like UpdraftPlus or your hosting provider's backup tool. You need both your website files and database.
Think of this as insurance. If something goes wrong during the update process, you can restore your site to its current working state. Many hosting providers offer one-click backups through their control panels.
Don't skip this step. I've seen too many sites get worse instead of better because someone tried to fix things without a safety net.
Step 3: Update WordPress Core, Themes, and Plugins
Head to your WordPress dashboard and navigate to Updates. Install all pending updates for WordPress core, your active theme, and plugins. Newer versions often include compatibility patches for recent PHP versions.
Pay special attention to plugins you haven't updated in months or years. Abandoned plugins are the biggest culprits in PHP compatibility issues. If you see plugins that haven't been updated in over two years, consider finding alternatives.
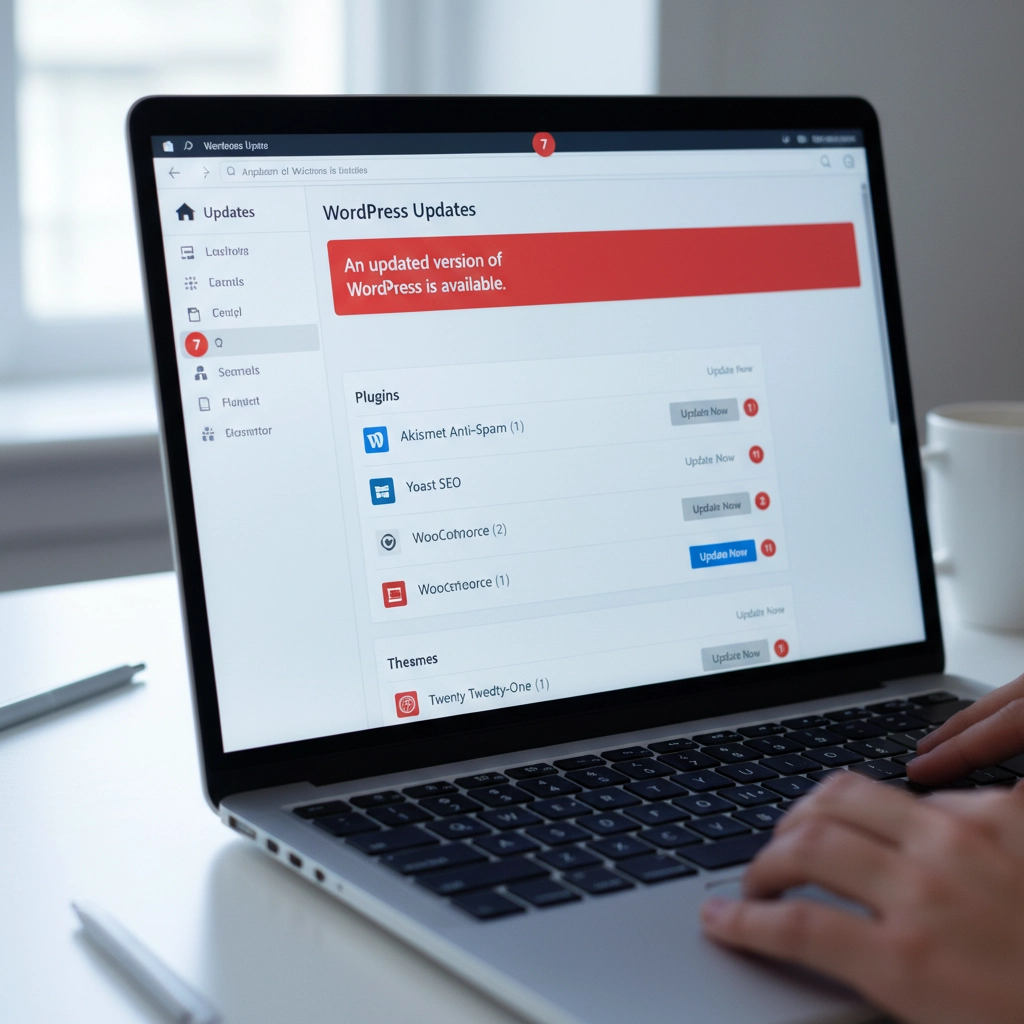
Update your active theme too. Custom themes from developers who no longer provide support can be particularly problematic. If your theme hasn't been updated recently, contact the developer or consider switching to a well-maintained alternative.
Step 4: Run a PHP Compatibility Check
Install the PHP Compatibility Checker plugin by WP Engine. This free tool scans your entire site and generates a report showing which themes and plugins won't work with newer PHP versions.
Run a scan targeting your desired PHP version (usually PHP 8.1 or 8.2). The report will flag specific files and functions that need attention. This gives you a roadmap for what needs fixing before you can safely update PHP.
The scan might take several minutes depending on your site size. Don't close your browser tab while it's running. The detailed report will show you exactly which plugins or themes are causing problems.
Step 5: Test in a Staging Environment
If your hosting provider offers staging sites, use one. Create a copy of your live site where you can safely test the PHP update without affecting visitors.
Apply the PHP update to your staging site first. If everything works correctly there, you can confidently update your live site. If problems occur, you can troubleshoot without any downtime.
Many hosts include staging tools in their control panels. WordPress.com, WP Engine, and SiteGround all offer easy staging environments. Some plugins like WP Staging can create staging sites on any host.

Step 6: Isolate Problematic Components
If your site still breaks after updating everything, you need to identify the specific culprit. Start by deactivating all plugins and switching to a default WordPress theme like Twenty Twenty-Four.
Try the PHP update again. If your site works with all plugins disabled and the default theme active, you know the problem is with a plugin or your theme.
Reactivate plugins one by one, testing your site after each activation. When your site breaks, you've found the problematic plugin. Do the same process with your theme by switching back to it after testing all plugins.
Step 7: Handle Incompatible Extensions
Found the troublemaker? You have several options. First, check if there's a newer version available. Plugin developers often release compatibility updates shortly after new PHP versions.
If no update exists, look for alternative plugins that provide the same functionality. The WordPress plugin directory has thousands of options, and newer plugins typically support current PHP versions.
For premium plugins or themes, contact the developer directly. Many offer compatibility updates for paying customers even if they haven't released public updates.
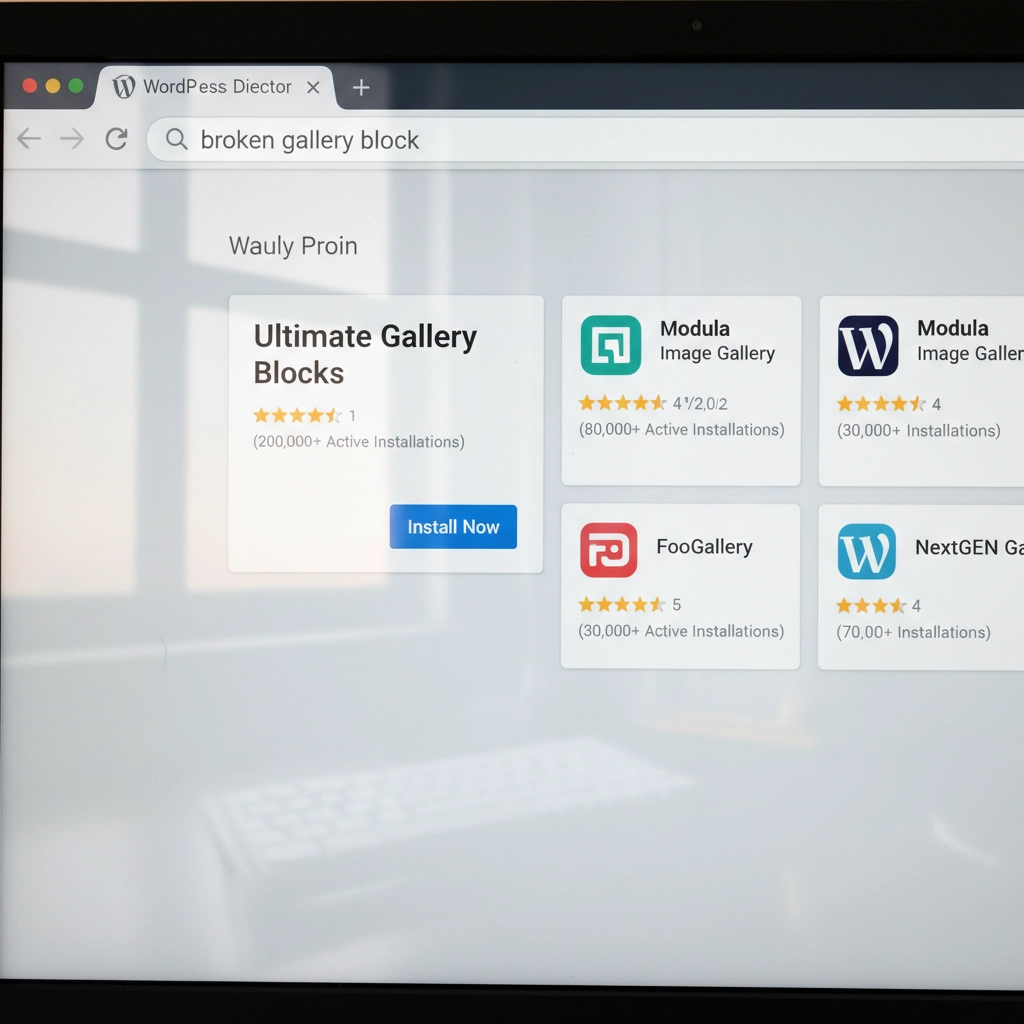
Sometimes you might need to hire a developer to update custom code or modify a theme. This is especially common with heavily customized sites or older premium themes.
Step 8: Reapply the PHP Update
Once you've resolved all compatibility issues, it's time to update PHP again. Go back to your hosting control panel and select your target PHP version.
Most sites work well with PHP 8.1 or 8.2. These versions offer significant performance improvements over older versions. WordPress officially supports PHP 8.0 and higher, with PHP 8.1 being the recommended version.
Apply the change and test your site thoroughly. Check your homepage, admin area, contact forms, and any special functionality like e-commerce checkout processes.
Step 9: Post-Update Monitoring
After updating PHP, monitor your site closely for the first few days. Clear all caches – server-level caches, plugin caches, and your browser cache.
Check your hosting control panel's error logs for any PHP errors or warnings. Look for the "Error Logs" section in cPanel or similar tools in other hosting panels. WordPress also creates debug logs if you enable debugging in wp-config.php.
Set up website monitoring tools to alert you if your site goes down. Services like UptimeRobot or Pingdom can send email alerts when problems occur.
Prevention Tips for Future Updates
Stay proactive with updates. Install WordPress, theme, and plugin updates regularly instead of letting them accumulate. Regular small updates are much safer than jumping multiple versions at once.
Remove unused plugins and themes. Every piece of code on your site is a potential compatibility problem. If you're not actively using a plugin, delete it completely.
Consider managed WordPress hosting. Companies like WP Engine, Kinsta, and Pressable handle PHP updates more carefully, often testing compatibility before applying updates to your site.
When to Get Professional Help
Some situations require expert assistance. If you're running a mission-critical e-commerce site, have heavily customized code, or feel overwhelmed by the technical steps, consider hiring a WordPress professional.
Custom-built themes and plugins often need developer attention for PHP compatibility. The cost of professional help is usually much less than the revenue lost from extended downtime.
Don't let pride keep your site broken. Sometimes the smartest move is admitting you need help and getting your site fixed quickly and correctly.
Your WordPress site doesn't have to break every time PHP updates. With proper preparation and systematic troubleshooting, you can keep your site running smoothly on current, secure PHP versions. The key is taking it step by step and not rushing the process.


by Charles Oropallo | Aug 23, 2024 | Do-It-Yourself
WordPress powers over 40% of all websites on the internet. That popularity makes it a prime target for hackers. Every day, thousands of WordPress sites get compromised because owners make simple security mistakes.
The good news? Most of these mistakes are easy to fix. You don't need to be a security expert to protect your website. You just need to know what you're doing wrong and how to fix it.
Let's dive into the seven biggest WordPress security mistakes and their solutions.
Mistake #1: Ignoring Updates (The Silent Site Killer)
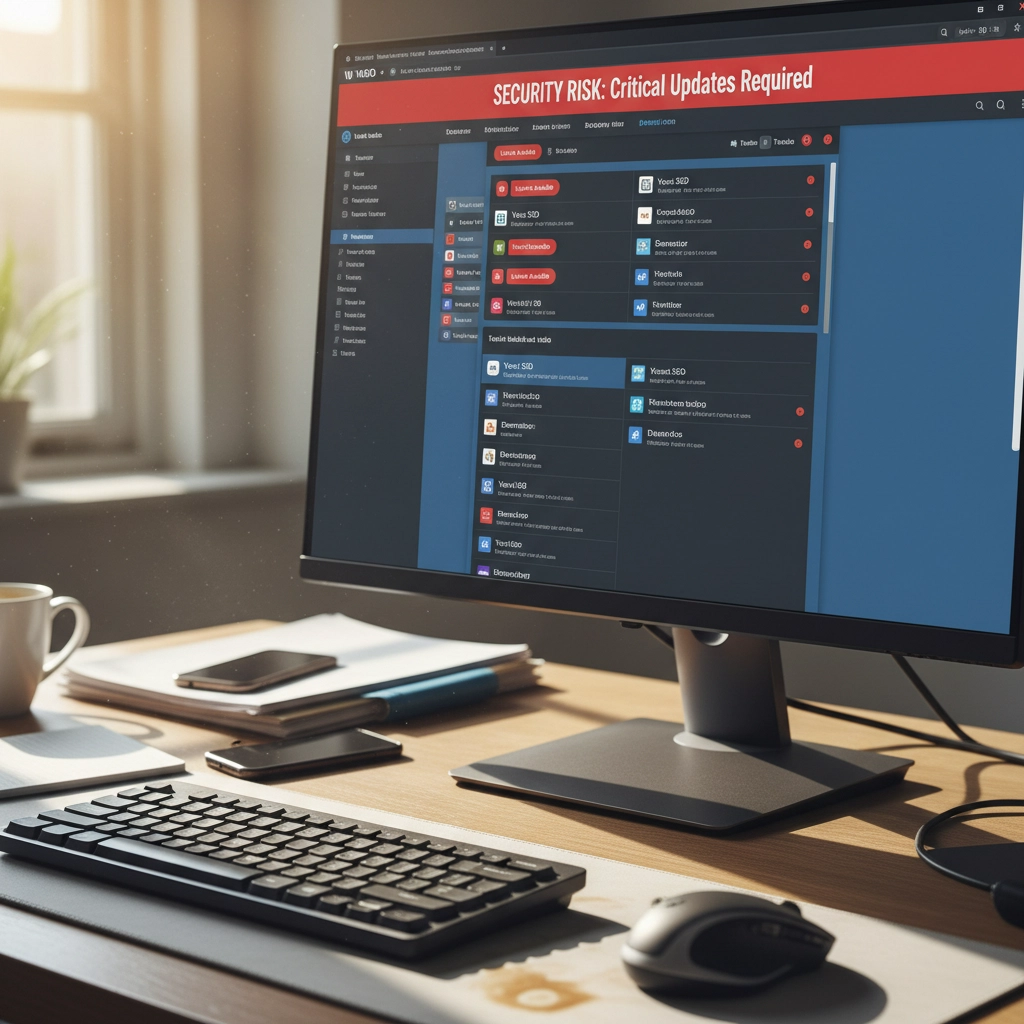
Here's the harsh truth: 97% of WordPress security problems come from plugins. Yet only 30% of WordPress users have auto-updates enabled.
Think about it this way. When developers find a security hole, they release an update to fix it. The longer you wait to update, the more time hackers have to exploit that known weakness.
How to Fix It:
Enable automatic updates for WordPress core, plugins, and themes. Most hosting providers offer this feature in their control panels. If yours doesn't, consider switching to a managed WordPress host.
Check your plugins weekly. Delete any you're not using. Inactive plugins can still be exploited by hackers.
Set calendar reminders if auto-updates aren't available. Manual updates beat no updates every time.
Pro Tip: Create a staging site to test updates before they go live. This prevents your main site from breaking during updates.
Mistake #2: Using Weak Passwords and Predictable Usernames
"admin" with password "password123" isn't clever. It's dangerous. 41% of WordPress users still use weak passwords or skip two-factor authentication entirely.
Hackers use bots that test thousands of password combinations per minute. A weak password like "ADMIN123" gets cracked in seconds.
How to Fix It:
Create strong passwords with at least 12 characters. Mix uppercase, lowercase, numbers, and special characters.
Never use "admin" as your username. Choose something unique that doesn't relate to your business name.
Use a password manager like 1Password or Bitwarden. They generate complex passwords and store them securely.
Change default usernames immediately. If you already have an "admin" account, create a new administrator account with a different username, then delete the old one.
Quick Check: Can you guess your password by looking at your keyboard or personal information? If yes, change it now.
Mistake #3: Skipping Two-Factor Authentication (Your Security Backup Plan)
Passwords alone aren't enough anymore. Even strong passwords can be compromised through data breaches or phishing attacks.
Two-Factor Authentication (2FA) adds a second layer of protection. Even if hackers get your password, they still need your phone or authentication app to get in.
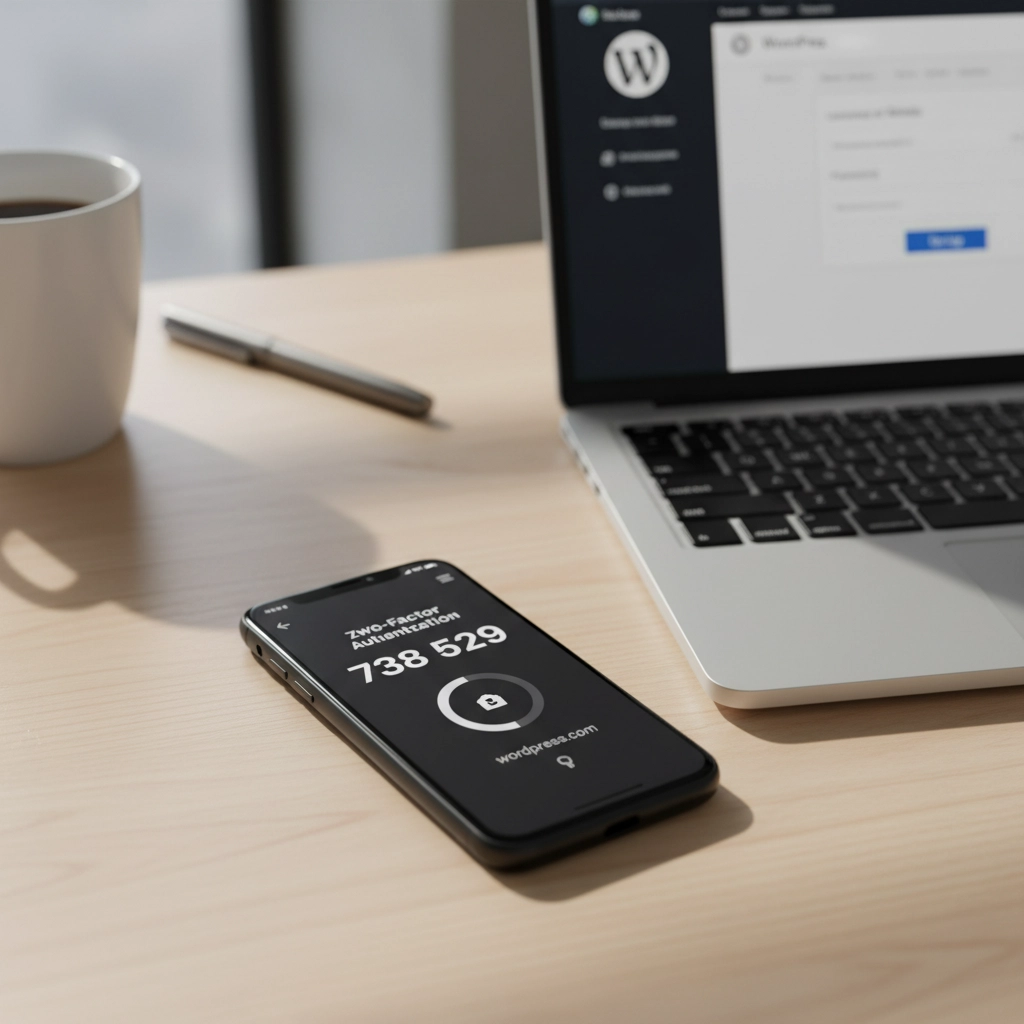
How to Fix It:
Install a 2FA plugin like Wordfence or Google Authenticator for WordPress.
Set up 2FA for all user accounts, especially administrators and editors.
Use an authenticator app instead of SMS when possible. Apps like Google Authenticator or Authy are more secure than text messages.
Test your 2FA setup regularly. Make sure you can access backup codes if you lose your phone.
Remember: 2FA might seem inconvenient, but it's much less inconvenient than rebuilding your hacked website.
Mistake #4: Forgetting to Back Up Your Website
"My hosting company handles backups." Famous last words from website owners who lost everything.
Hosting backups might not include all your files. They might be stored on the same server that gets hacked. Or they might be overwritten before you realize you need them.
How to Fix It:
Set up automated daily backups that include your entire website and database.
Store backups in multiple locations. Use cloud services like Google Drive, Dropbox, or Amazon S3.
Test your backup restoration process monthly. A backup that doesn't restore is useless.
Keep at least 30 days of backup history. Sometimes you don't notice problems immediately.
Use plugins like UpdraftPlus or BackWPup for automated scheduling.
Reality Check: When did you last check if your backups actually work? If you can't answer that, check today.
Mistake #5: Installing Themes and Plugins from Sketchy Sources
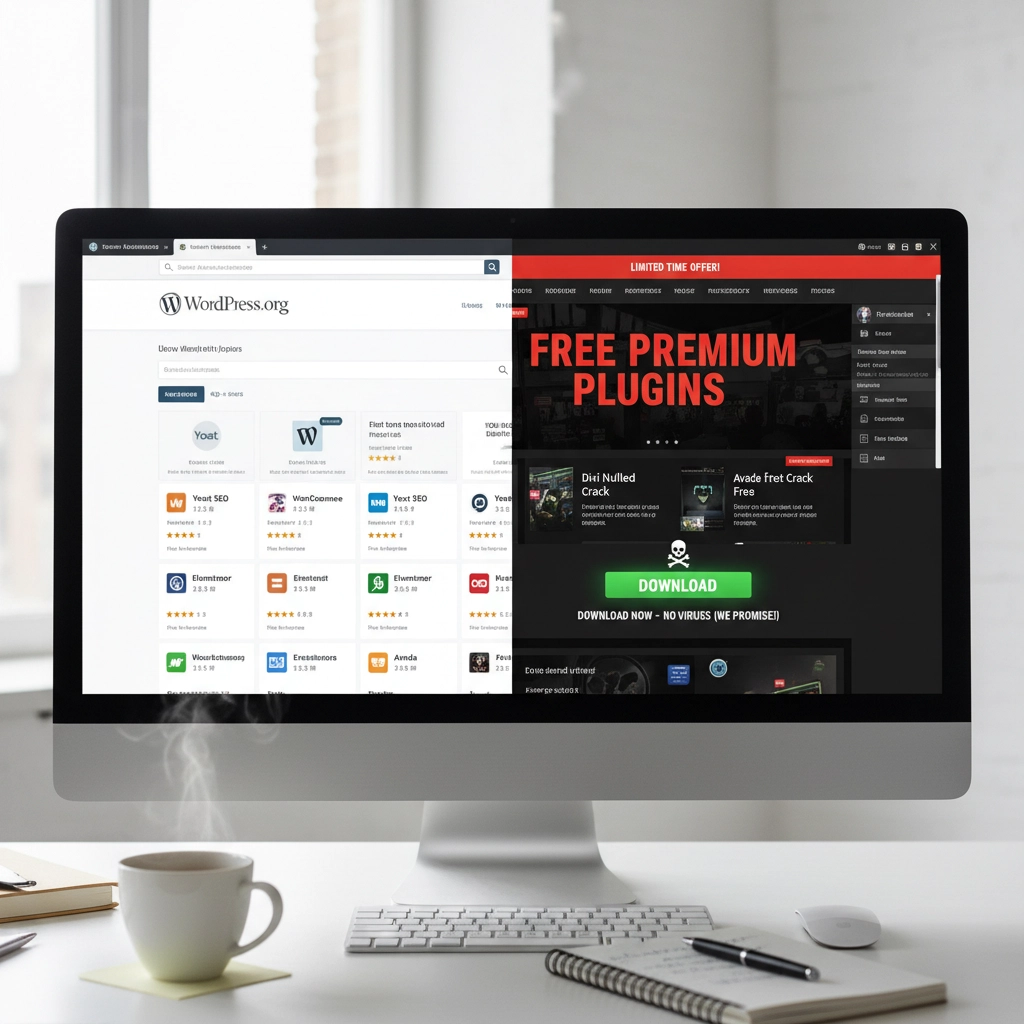
Free premium themes and plugins sound tempting. But they often come with hidden malware or backdoors that give hackers access to your site.
Even legitimate-looking themes can contain malicious code that steals user data or redirects visitors to scam sites.
How to Fix It:
Only download themes and plugins from the official WordPress repository or established developers.
Check ratings and reviews before installing anything. Look for recent updates and active support.
Research the developer. Do they have other plugins? A professional website? Good reviews?
Scan new themes and plugins with security tools before activation.
Delete unused plugins immediately. Don't just deactivate them: remove them completely.
Warning Sign: If a "premium" theme or plugin is offered free on a random website, it's probably infected with malware.
Mistake #6: Ignoring File Permissions (The Technical Blind Spot)
File permissions control who can access what on your server. Wrong permissions can let hackers read sensitive files or upload malicious code.
Most WordPress users never check their file permissions. They assume their hosting provider set them correctly. That's a dangerous assumption.
How to Fix It:
Set correct file permissions: 755 for directories and 644 for files.
Never use 777 permissions unless absolutely necessary (and change them back immediately after).
Protect your wp-config.php file with 600 permissions.
Work with your hosting provider to audit permissions if you're unsure.
Use security plugins that monitor and alert you about permission changes.
Technical Note: If file permissions sound too complex, ask your web developer or hosting support to check them for you.
Mistake #7: No Security Monitoring (Flying Blind)
Many WordPress owners only discover they've been hacked when visitors complain or Google flags their site. By then, the damage is done.
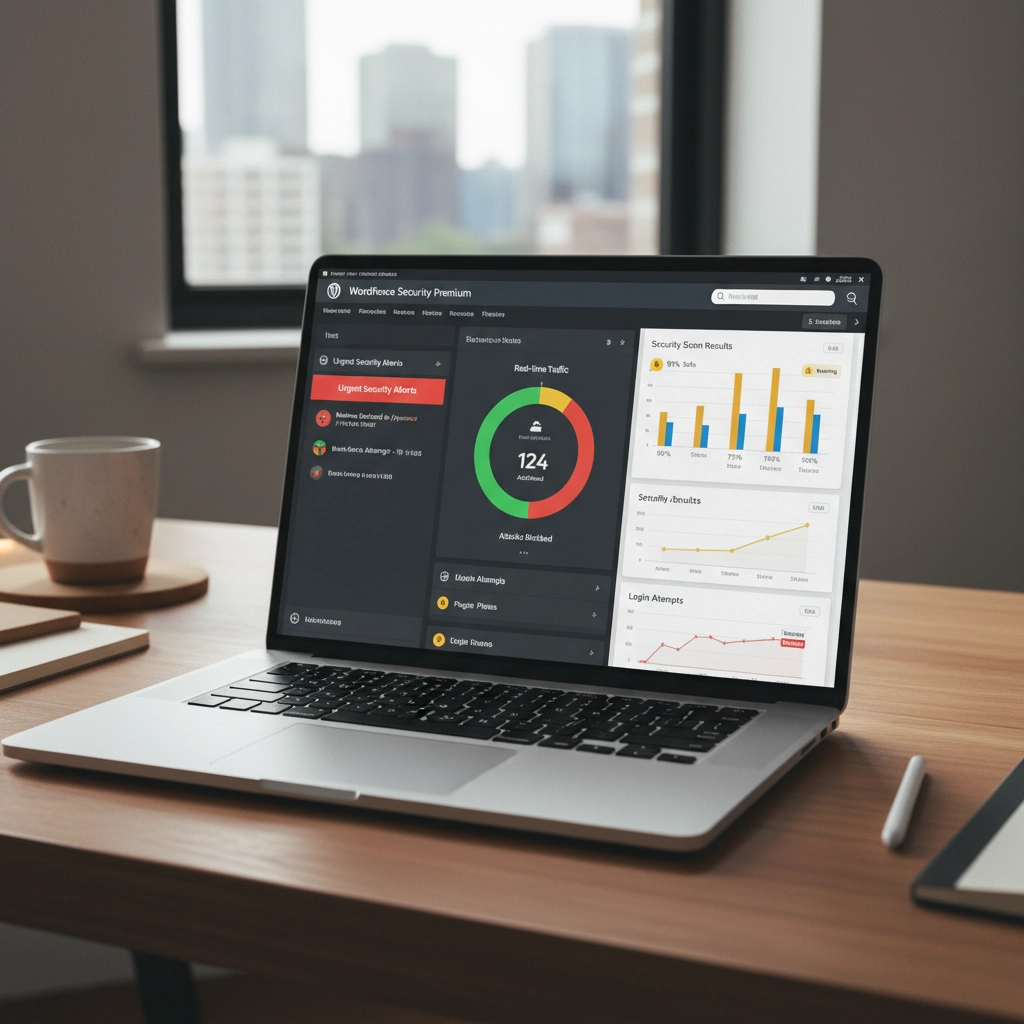
Hackers often work silently, stealing data or using your site to attack others. You need active monitoring to catch problems early.
How to Fix It:
Install security monitoring plugins like Wordfence, Sucuri, or iThemes Security.
Set up email alerts for suspicious login attempts, file changes, or malware detection.
Monitor your website traffic for unusual spikes or patterns.
Check your site regularly from different devices and browsers.
Use Google Search Console to monitor for security warnings.
Pro Tip: Set up uptime monitoring to alert you immediately if your site goes down. Services like UptimeRobot offer free basic monitoring.
Taking Action: Your Security Checklist
Security isn't a one-time task. It's an ongoing process. Here's your priority order for fixing these mistakes:
- Enable automatic updates immediately – This fixes your biggest vulnerability right now
- Change weak passwords and usernames – Use a password manager to make this easy
- Set up 2FA on all accounts – Add that crucial second layer of protection
- Configure automated backups – Your safety net for when things go wrong
- Audit your plugins and themes – Remove anything suspicious or unused
- Check file permissions – Get help if this feels too technical
- Install security monitoring – Your early warning system
Don't try to fix everything at once. Start with automatic updates and work down the list. Each step makes your site significantly more secure.
Remember: The best time to secure your WordPress site was yesterday. The second-best time is right now.
Need help implementing these security measures? Our team specializes in WordPress security and can audit your site for vulnerabilities. Contact us for a security consultation that could save your website from becoming another hacking statistic.


by Charles Oropallo | Mar 14, 2024 | Do-It-Yourself
You're paying for a website, but your local customers can't find you online. Sound familiar? Here's the truth: most web developers focus on making sites look pretty. They skip the local search engine optimization (SEO) tactics that actually get you found.
Local SEO isn't rocket science. It's a series of strategic moves that help your business appear when people search for services "near me." The best part? You can implement most of these yourself.
Let's dive into the strategies that actually move the needle for small businesses.
Your Google Business Profile Is Everything
Your Google Business Profile is the foundation of local visibility. It's free, takes 15 minutes to set up, and directly impacts your Google Maps rankings.
Think about your last local search. You probably clicked on one of the first three businesses in the map results. Those spots aren't random, they're earned through profile optimization.
Complete every section of your profile. Add your business hours, phone number, website, and services. Upload high-quality photos of your storefront, products, and team. Businesses with photos get 42% more direction requests than those without.
Post regular updates about promotions, events, or new services. Google treats active profiles as more relevant than dormant ones. Even a weekly post about your business makes a difference.

Enable messaging if your business can respond quickly. Enable appointment booking if applicable. These features signal to Google that your business is engaged and customer-focused.
NAP Consistency Rules Everything
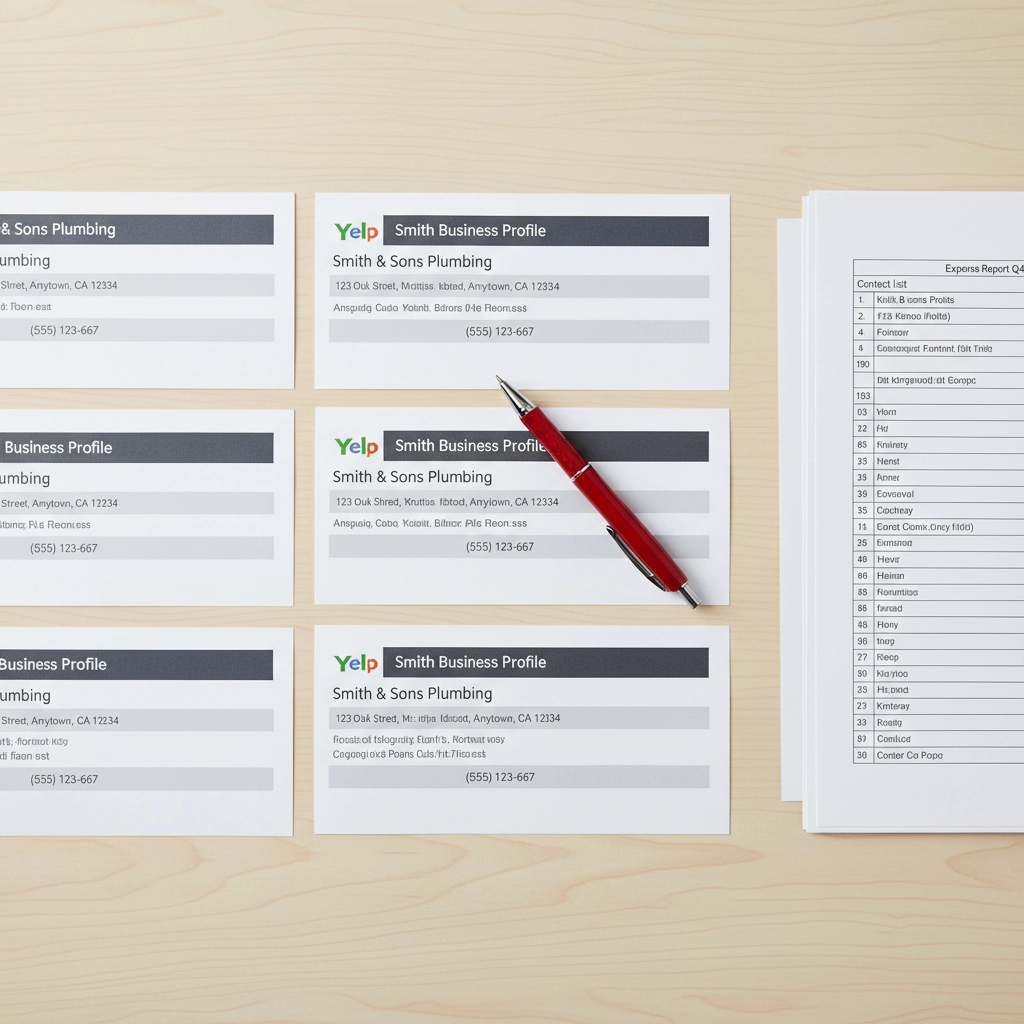
NAP stands for Name, Address, Phone Number. This information must be identical everywhere your business appears online. Everywhere means your website, social media, directories, and citations.
Here's what happens when your NAP is inconsistent: Google doesn't trust your business information. Confused search engines don't rank confused businesses highly.
Create a master document with your exact business information. Use "Street" instead of "St." Use your local phone number, not a toll-free number. If your business name is "Joe's Coffee," don't call it "Joe's Coffee Shop" anywhere else.
Check your NAP across these platforms: Google Business Profile, Yelp, Facebook, Yellow Pages, Better Business Bureau, and industry directories. Fix any inconsistencies immediately.
One formatting tip that saves headaches later: always use your business address exactly as it appears on your Google Business Profile. This becomes your standard format everywhere else.
Local Keywords Are Your Best Friend
Local keywords help the right people find your business. These aren't complicated, they're simply your services plus your location.
Examples include "dentist in Portland," "pizza delivery Chicago," or "car repair near me." Research what your customers actually search for using Google's Keyword Planner or simply by typing your services into Google and seeing the autocomplete suggestions.
Create separate pages for different service areas if you serve multiple locations. A plumbing company serving three towns should have dedicated pages for each area. Each page should include local landmarks, neighborhood names, and area-specific information.
Don't stuff keywords unnaturally into your content. Write for humans first, search engines second. A sentence like "Our Chicago pizza delivery service delivers pizza in Chicago" sounds robotic and hurts more than it helps.
Instead, write naturally: "We deliver fresh pizza throughout Chicago's downtown area, including the Loop and River North neighborhoods."
Mobile Optimization Can't Be Optional
Sixty percent of local searches happen on smartphones. Google uses mobile-first indexing, meaning they primarily look at your mobile site to determine rankings.
Your website must load quickly on phones. Compress images, choose a fast hosting provider, and avoid heavy plugins that slow loading times. A three-second delay can lose 53% of mobile visitors.
Make buttons large enough for thumbs. Avoid tiny links or navigation elements that frustrate mobile users. Test your site on different devices and screen sizes.
Eliminate pop-ups that cover mobile screens. Google penalizes sites with intrusive mobile pop-ups. If you must use pop-ups, make them easy to close and ensure they don't block important content.
Check your mobile-friendliness with Google's Mobile-Friendly Test. It's free and shows exactly what needs fixing.
Customer Reviews Drive Everything
Reviews influence both customers and search rankings. Google considers review quantity, frequency, and responses when determining local rankings.
Ask satisfied customers for reviews. Don't be pushy, but don't be shy either. A simple request after completing good work often works: "If you're happy with our service, a quick Google review would really help our small business."
Respond to every review, positive and negative. Thank customers for positive reviews. Address negative reviews professionally and offer to resolve issues offline.
Here's a template for negative review responses: "Thanks for your feedback, [Name]. We apologize for your experience and would like to make this right. Please call us at [phone] so we can discuss this further."
Never ignore reviews. Silent businesses look unengaged to both customers and Google.
Local Directories Still Matter
Getting listed on local directories builds credibility and provides valuable backlinks to your website. Start with major directories like Yelp, Yellow Pages, and your local Chamber of Commerce website.
Industry-specific directories matter too. Restaurants should be on OpenTable and TripAdvisor. Contractors should be on Angie's List and Home Advisor.
Ensure your NAP information is consistent across all directories. Inconsistent listings hurt more than they help.
Don't pay for directory submissions unless you're certain they're legitimate. Many "directory submission services" are scams that list your business on low-quality sites.
On-Page SEO With Local Focus
Optimize your website content for local search by including location-based keywords naturally throughout your pages.
Your homepage should mention your primary service area early and often. Include your city or region in your title tag, meta description, and main headings.
Create location-specific content that provides value. A home improvement company could write about local building codes, weather considerations, or neighborhood characteristics.
Add your address to your website footer. Include local landmark references in your content. Mention nearby businesses, events, or community involvement.

Don't forget about image optimization. Name your photos with descriptive, location-specific filenames like "chicago-pizza-restaurant-interior.jpg" instead of "IMG_1234.jpg."
Advanced Local SEO Tactics
Geo-tag your images when uploading to your website and social media. This embeds location data that helps search engines understand your business location.
Build relationships with other local businesses for natural backlink opportunities. Sponsor local events, join community organizations, or participate in local business associations.
Create Google Posts regularly through your Google Business Profile. These mini-blog posts appear in your knowledge panel and show Google that your business is active.
Monitor your online mentions using Google Alerts. Set up alerts for your business name to catch new reviews, mentions, or potential NAP inconsistencies.
Consider local schema markup on your website. This structured data helps search engines understand your business information more clearly.
Common Mistakes That Kill Local Rankings
Buying fake reviews destroys credibility and violates Google's guidelines. Focus on earning authentic reviews through excellent service.
Using inconsistent business names across platforms confuses search engines. Stick to one version of your business name everywhere.
Ignoring negative reviews makes problems worse. Address concerns professionally and publicly to show potential customers how you handle issues.
Creating multiple Google Business Profiles for one location results in suspension. Google allows one profile per location, period.
Measuring Your Local SEO Success
Track your Google Business Profile insights to see how customers find you. Monitor calls, website clicks, and direction requests.
Use Google Search Console to see which local keywords drive traffic to your website. Focus your efforts on keywords that generate actual business.
Check your local rankings monthly for your most important keywords. Tools like BrightLocal or simply searching on different devices can show your position.
Most importantly, track actual business results. More calls, appointments, or walk-ins matter more than rankings alone.
Local SEO isn't complicated, but it requires consistency and attention to detail. Start with your Google Business Profile, fix your NAP consistency, and build from there. Your local customers are searching for your services right now( make sure they can find you.)


by Charles Oropallo | Feb 27, 2024 | Do-It-Yourself

Think your WordPress site is secure? You might be shocked to learn that 97% of WordPress security problems stem from plugin vulnerabilities alone. Even worse, hackers know exactly which mistakes you're making, and they're counting on you to keep making them.
Don't panic. Most WordPress security breaches happen because site owners unknowingly leave the digital equivalent of their front door wide open. The good news? These mistakes are completely preventable once you know what to look for.
Let's dive into the seven most dangerous security mistakes that make your WordPress site an easy target for cybercriminals.
1. Running Outdated or Inactive Plugins
Here's a scary statistic: only 30% of WordPress users have auto-updates enabled on their websites. That means 70% are sitting ducks for hackers who specifically target outdated plugins.
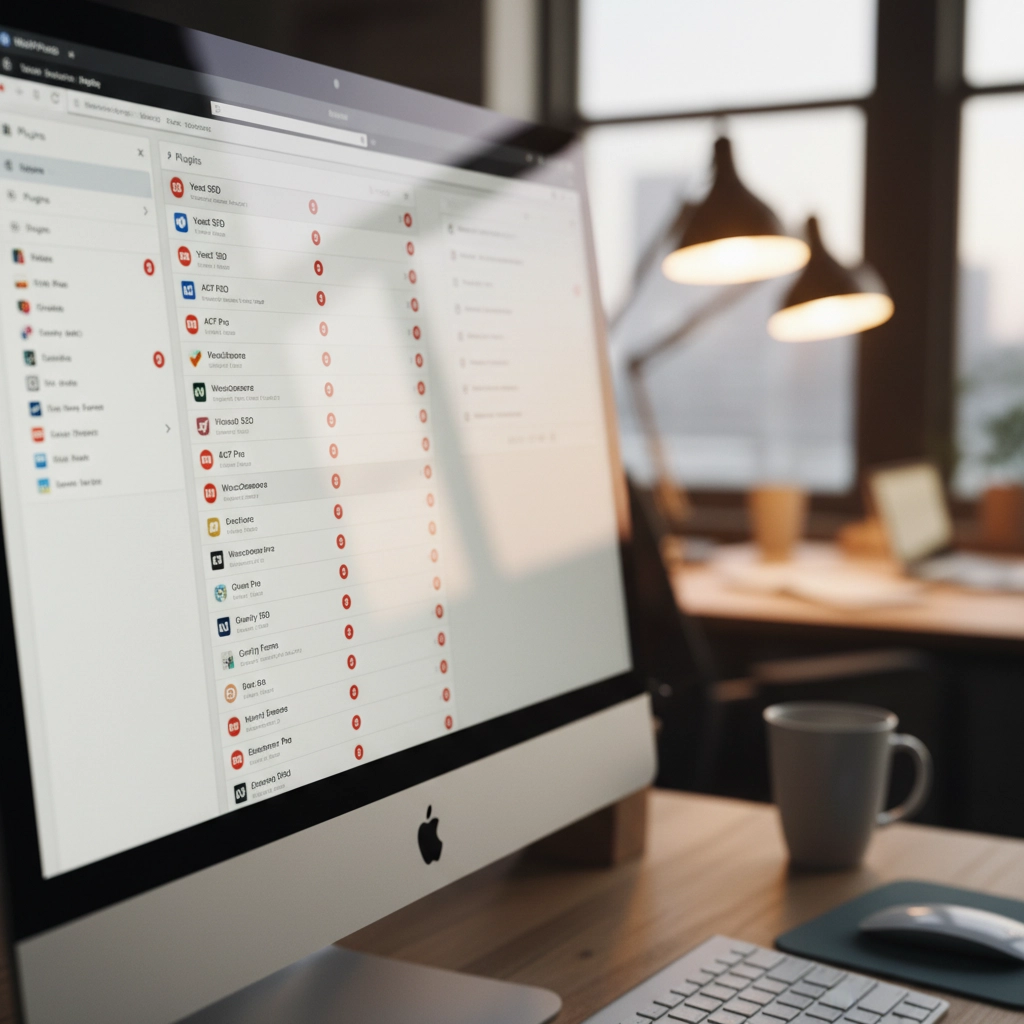
How Hackers Exploit This: Cybercriminals use automated scanning tools that crawl the web looking for sites running vulnerable plugin versions. When they find one, they already have the exploit code ready to go. It's like leaving your house key under the doormat with a sign pointing to it.
Take the 2023 vulnerabilities in WP Fastest Cache and Essential Add-ons for Elementor. Thousands of websites running outdated versions became instant targets. Hackers didn't need to be clever, they just needed to find sites that hadn't updated.
The Fix: Enable automatic updates for plugins whenever possible. If you prefer manual control, check for updates weekly. More importantly, delete any plugins you're not actively using. Inactive plugins are still attack vectors that hackers love to exploit.
2. Using Weak Passwords and Skipping Two-Factor Authentication
Here's a reality check: 41% of WordPress users don't use strong passwords or two-factor authentication (2FA). If your admin password is "password123" or your business name plus the year, you're basically sending hackers an invitation.
How Hackers Exploit This: Brute force attacks are the digital equivalent of trying every key until one opens the lock. Hackers use bots that attempt thousands of login combinations per minute. Since WordPress allows unlimited login attempts by default, these bots can run 24/7 until they crack your password.
Once they're in, they own your site. Customer data, financial information, email addresses, everything becomes theirs to sell or exploit.
The Fix: Use passwords that are at least 12 characters long with a mix of letters, numbers, and symbols. Better yet, use a password manager to generate unique passwords for every account. Enable 2FA immediately, Google's research shows it stops 100% of automated bot attacks.
3. Installing Plugins and Themes from Sketchy Sources
Free premium themes and plugins sound tempting, right? Those "nulled" versions of expensive plugins seem like a steal. Here's the truth: if something seems too good to be true, it probably contains malware.
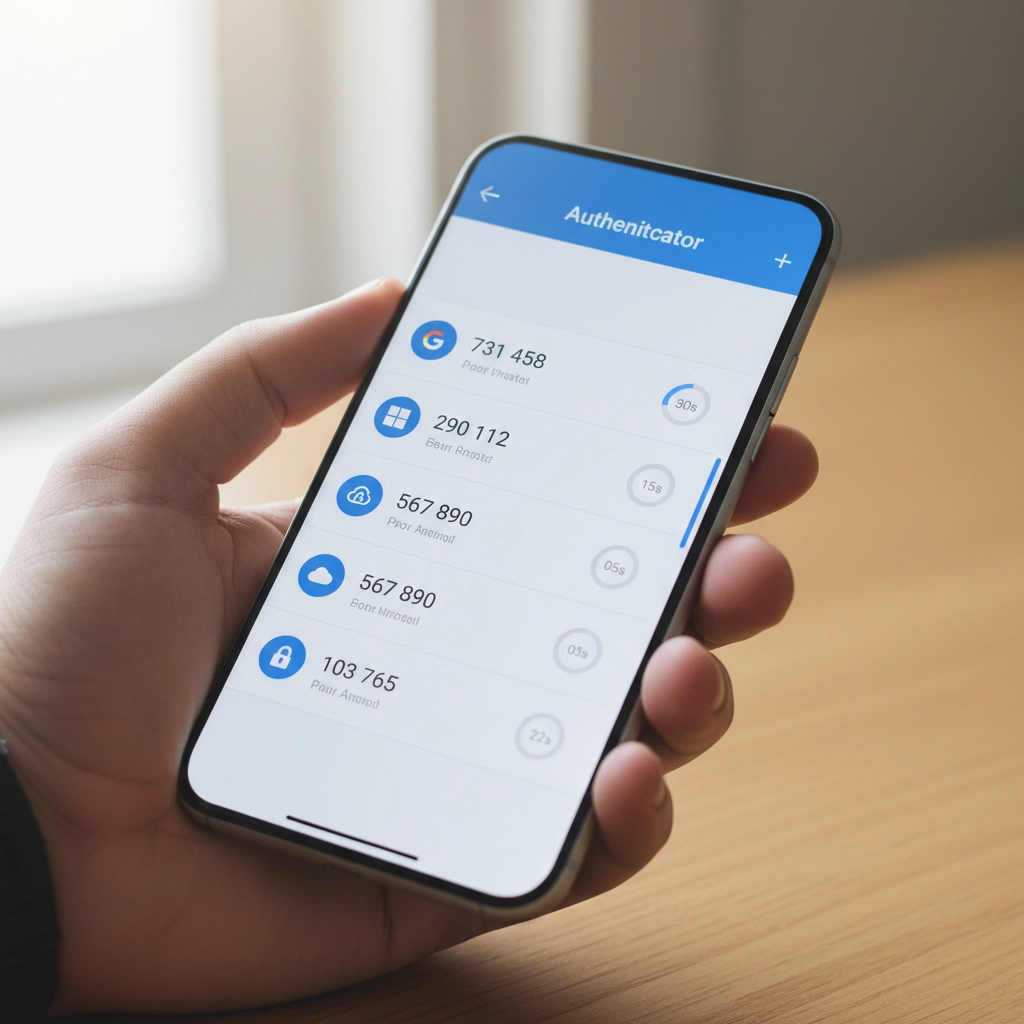
How Hackers Exploit This: Malicious developers embed backdoors directly into these "free" premium plugins. The moment you install them, hackers have a secret entrance to your site. Some plugin viruses are designed to automatically infect every other plugin and theme on your installation, spreading like wildfire through your entire WordPress setup.
These backdoors often go undetected for months, giving hackers plenty of time to steal data, inject spam links, or use your server for cryptocurrency mining.
The Fix: Stick to plugins and themes from WordPress.org, reputable commercial developers, or well-established marketplaces. Yes, you might pay more upfront, but it's infinitely cheaper than dealing with a hacked website.
4. Ignoring File Permissions
File permissions might sound technical, but they're basically your site's security guard. When configured incorrectly, they're like having a security guard who lets anyone walk into your building.
How Hackers Exploit This: Loose file permissions allow attackers to access sensitive files they shouldn't see. Once they have limited access, they can often escalate their privileges and gain control of critical system files. It's like giving someone permission to use your bathroom, and they end up with keys to your entire house.
With proper access, hackers can modify your site's code, steal database information, or install persistent backdoors that survive even when you clean up other security issues.
The Fix: Follow the principle of least privilege. Files should be set to 644 permissions, directories to 755. Your wp-config.php file should be 600. If these numbers look like gibberish, ask your hosting provider to audit your file permissions.
5. Procrastinating on WordPress Updates
Those update notifications aren't suggestions: they're security bulletins. Every WordPress update includes patches for newly discovered vulnerabilities. When you ignore them, you're essentially leaving known security holes open for hackers to exploit.
How Hackers Exploit This: WordPress developers openly publish what each security update fixes. This creates a roadmap for hackers who can easily identify which sites haven't updated and target the specific vulnerabilities that remain unpatched.
It's like fixing a broken lock on your front door but announcing to the neighborhood exactly when the repair will happen. Unpatched sites become obvious targets.
The Fix: Update WordPress core, plugins, and themes as soon as updates become available. Schedule a weekly maintenance window to check for and install updates. Most hosting providers offer staging environments where you can test updates before applying them to your live site.
6. Skipping Backups and Security Monitoring
Not having backups is like driving without insurance: you'll only realize how crucial it is when disaster strikes. Similarly, running a WordPress site without security monitoring is like closing your eyes and hoping nothing bad happens.
How Hackers Exploit This: Without backups, when (not if) your site gets compromised, you have no clean version to restore. Hackers know this, which is why some attacks are designed to corrupt or encrypt your existing files, leaving you with no recovery options.

Without security monitoring, attacks can run undetected for weeks or months. During this time, hackers can steal customer data, inject malicious code, or use your site to attack other websites.
The Fix: Set up automated daily backups stored off-site (not on the same server as your website). Install a security plugin that monitors file changes, login attempts, and suspicious activity. For critical business sites, consider our email security services that include comprehensive monitoring.
7. Installing Software from Unknown Repositories
This mistake often flies under the radar but can be the most dangerous. Installing plugins or themes from forums, random websites, or commercial repositories outside the WordPress ecosystem introduces unknown code into your installation.
How Hackers Exploit This: Unlike WordPress.org plugins that undergo community scrutiny, third-party sources may lack any security review process. These repositories are often intentionally compromised or simply don't have the resources to properly vet code.
Hackers exploit this by creating legitimate-looking plugins or themes that contain hidden malware. Once installed, these give attackers automatic access to your site without needing to break in through other methods.
The Fix: Stick to WordPress.org for free plugins and themes. For premium options, buy directly from the developer or established marketplaces like CodeCanyon. Never download "nulled" versions of paid plugins: they're almost always infected with malware.
Your Next Steps
WordPress security isn't rocket science, but it does require consistent attention. Start by auditing your current setup against these seven mistakes. Update everything, remove unused plugins, strengthen your passwords, and enable 2FA.
Remember, hackers are counting on you to make these mistakes. Don't give them the satisfaction. A few hours of security maintenance now can save you weeks of cleanup later: not to mention the potential loss of business and customer trust.
Need help securing your WordPress site? We specialize in helping businesses protect their digital assets without the technical headaches. Your website is too important to leave to chance.


by Charles Oropallo | Dec 17, 2023 | Do-It-Yourself
Let's be honest, you didn't start your business to become a cybersecurity expert. You've got products to sell, customers to serve, and a bottom line to protect. But here's the thing: spending hours wrestling with complicated security tutorials isn't the answer.
The good news? Website security doesn't have to eat up your entire weekend. With these seven practical hacks, you can lock down your site without needing a computer science degree. These aren't theoretical tips, they're battle-tested strategies that take minutes to implement but provide months of protection.
Think of this as your security cheat sheet. No fluff, no technical jargon, just straight-forward steps that actually work.
1. Turn On Multi-Factor Authentication (MFA) Everywhere
Here's your first quick win: enable multi-factor authentication on every account that touches your business. This means requiring two forms of identification, like your password plus a code sent to your phone, before anyone can access your systems.
Why does this matter? Even if hackers crack your password, they still can't get in without that second verification step. It's like having a deadbolt and a security chain on your front door.

Set this up on your website admin panel, email accounts, social media profiles, and any business applications you use. Most platforms make this incredibly easy, usually just a toggle switch in your security settings.
Don't skip this step because it seems like a hassle. The extra 30 seconds during login is nothing compared to the weeks you'd spend recovering from a breach.
2. Get That SSL Certificate Installed (And Keep It Updated)
If your website URL doesn't start with "https://", you're broadcasting to the world that your site isn't secure. Visitors see those dreaded "Not Secure" warnings, search engines penalize your rankings, and hackers see an easy target.
An SSL certificate encrypts data between your website and visitors. It's like putting your conversation in a locked briefcase instead of shouting it across a crowded room.
Most hosting providers offer SSL certificates for free or under $20 per year. If you're not sure whether yours is installed correctly, just look at your address bar. You should see a little lock icon next to your domain name.
Pro tip: Set a calendar reminder to check your SSL certificate renewal date. An expired certificate means your site goes back to showing security warnings, not exactly the professional image you want.
3. Schedule Monthly 15-Minute Security Checkups
Here's where most business owners go wrong: they set up security once and forget about it. That's like installing smoke detectors and never checking the batteries.
Instead, block out 15 minutes each month for a quick security review. During this time, scan for suspicious login attempts, check for broken or modified pages, and verify your backups are working.
You don't need fancy tools for this. Most content management systems have built-in activity logs that show recent changes and user logins. Look for anything unusual, logins from strange locations, files you didn't create, or pages that suddenly load slowly.

Think of this as preventive maintenance for your digital storefront. Catching problems early means fixing them takes minutes instead of days.
4. Enable Automatic Updates (Yes, Really)
"But what if an update breaks my site?" This fear keeps many business owners running outdated, vulnerable software. Here's the reality: the risk of a hacker exploiting an old security hole far outweighs the small chance an update causes problems.
Software updates aren't just about new features, they're about patching security vulnerabilities that hackers actively target. Running outdated software is like leaving your keys in an unlocked car.
Enable automatic updates for your website's core software, plugins, and themes. If your platform doesn't support automatic updates, set weekly calendar reminders to install them manually.
Still worried about updates breaking things? That's what backups are for (more on that in tip #6). The peace of mind from staying current on security patches is worth the occasional minor glitch.
5. Implement a Real Password Policy
"Password123!" doesn't count as secure, no matter how many exclamation points you add. Weak passwords are like having a "Welcome" mat for hackers.
Create a simple password policy for your team: minimum 12 characters, mix of letters/numbers/symbols, and no reusing passwords across accounts. Better yet, use a password manager to generate and store complex passwords automatically.

Think about what's connected to your email accounts, your website admin panel, and your business applications. One compromised password can unlock everything. Don't make it easy for the bad guys.
If remembering complex passwords feels overwhelming, password managers like Bitwarden or LastPass do the heavy lifting. They generate random passwords and fill them in automatically, security made simple.
6. Set Up Automatic Backups and Vulnerability Scanning
Imagine losing months of work because your website got hacked or your server crashed. Now imagine getting everything back with the click of a button. That's the power of automatic backups.
Configure daily backups of your entire website: files, database, everything. Store these backups off-site, not on the same server as your website. Many hosting providers include this service, or you can use plugins that backup to cloud storage.
Pair this with vulnerability scanning. Services like Sucuri or Wordfence automatically check your site for malware, outdated software, and security holes. They send email alerts when they find problems, so you can fix issues before hackers exploit them.
The goal isn't to never have problems: it's to bounce back quickly when they happen. Automatic backups and scanning give you that resilience without ongoing effort.
7. Audit Your Plugins and Third-Party Tools
Your website is only as secure as its weakest link. That forgotten plugin you installed two years ago might be full of security holes, giving hackers a backdoor into your site.
Conduct a quarterly audit of every plugin, integration, and third-party tool connected to your website. Ask yourself: "Do I actually use this? Is it from a reputable developer? When was it last updated?"
Delete anything you don't actively use. For the tools you keep, enable security notifications so you know about vulnerabilities immediately. Subscribe to security blogs or newsletters from your plugin developers.
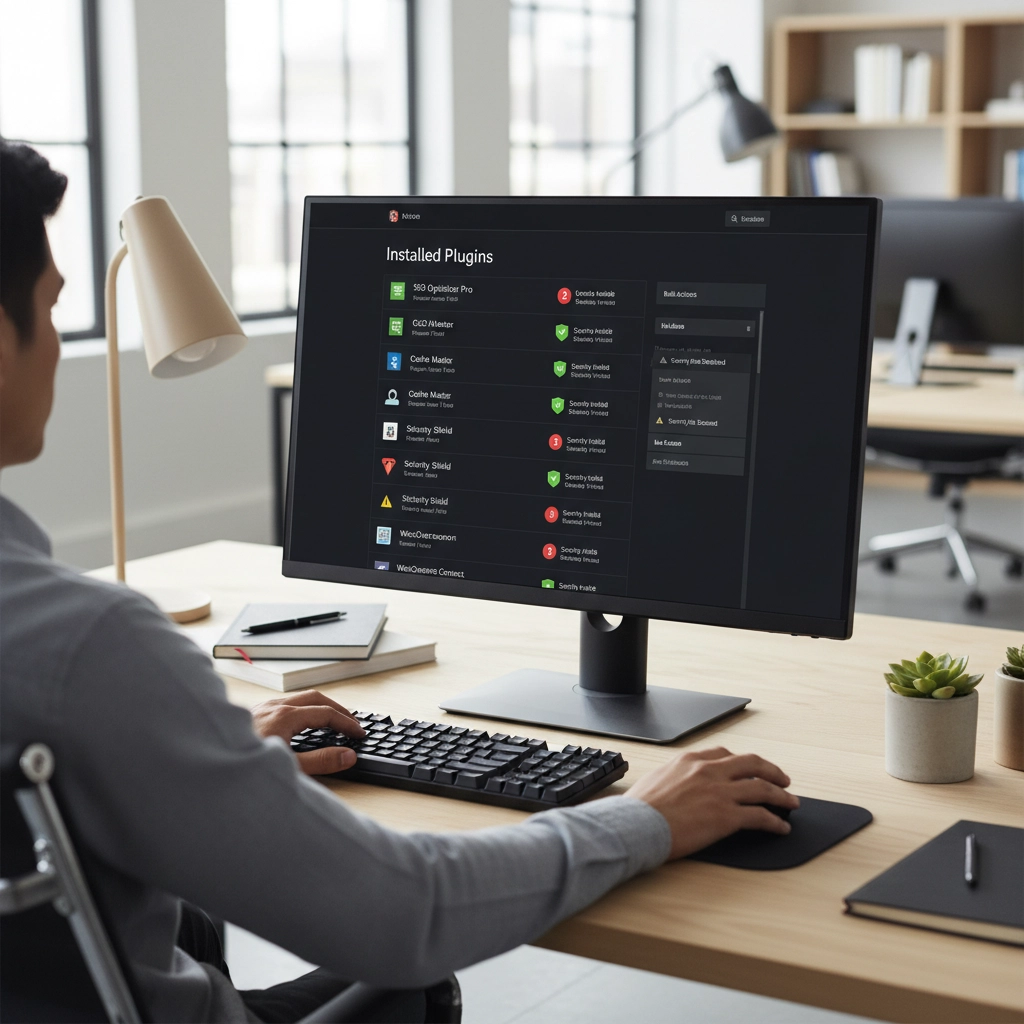
This includes seemingly harmless additions like social media widgets, analytics tools, and contact forms. Each one represents a potential entry point. The fewer doors you have, the fewer you need to guard.
The Bottom Line: Security as a Business Habit
These seven hacks work because they create multiple layers of protection without requiring constant attention. You're not trying to become a security expert: you're building good habits that run on autopilot.
The key is treating security like any other business routine. You wouldn't skip payroll or forget to pay rent. Website security deserves the same consistent attention.
Start with multi-factor authentication and SSL certificates: these give you the biggest security boost for the least effort. Then work through the other tips over the next few weeks.
Your future self will thank you when you're running a secure, professional website instead of dealing with the aftermath of a security breach. And your customers will appreciate knowing their information is safe in your hands.
Need help implementing any of these security measures? Our team at The CharlesWorks Corner specializes in making website security simple and manageable for busy business owners. Don't let security concerns keep you up at night when practical solutions are just a click away.


 If you secure many sites with free Let’s Encrypt SSL, you may hit a wall. Suddenly, certificate requests stop cold. One day everything works. The next, you see rate-limit errors and wonder what happened.




 European Union General Data Protection Regulation Compliant